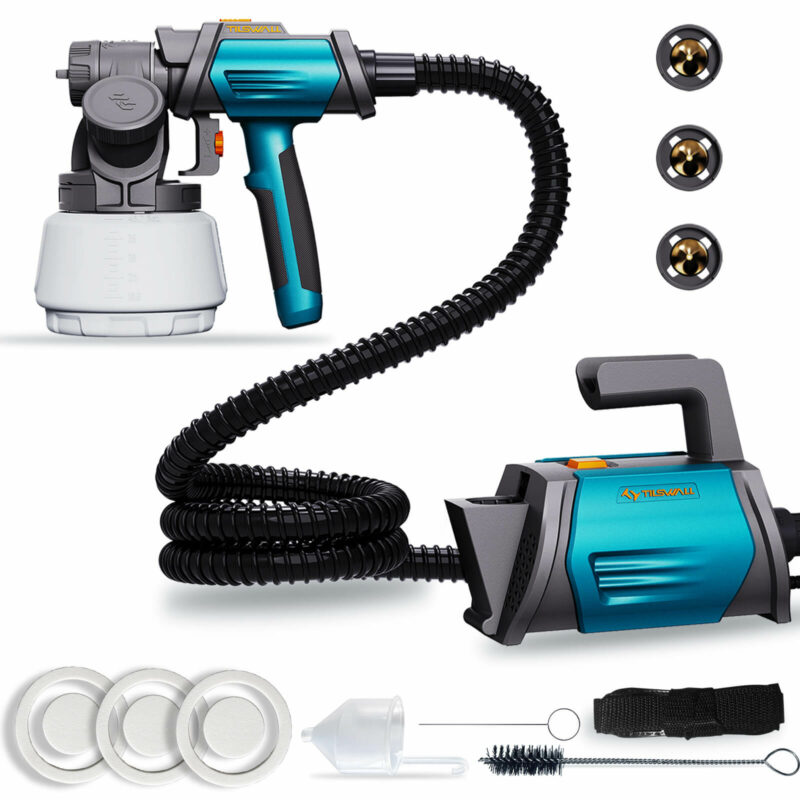
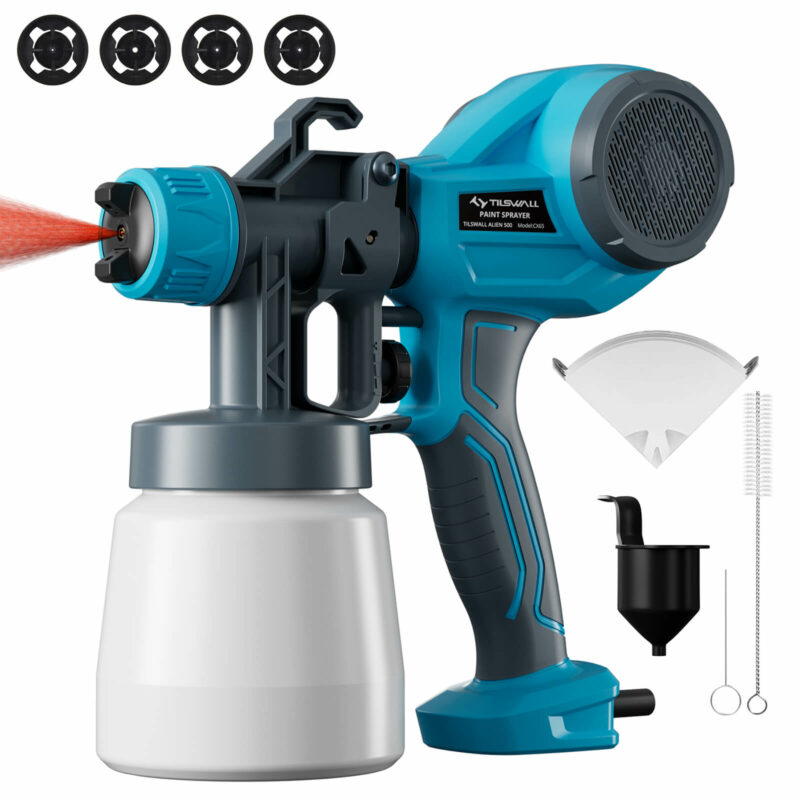
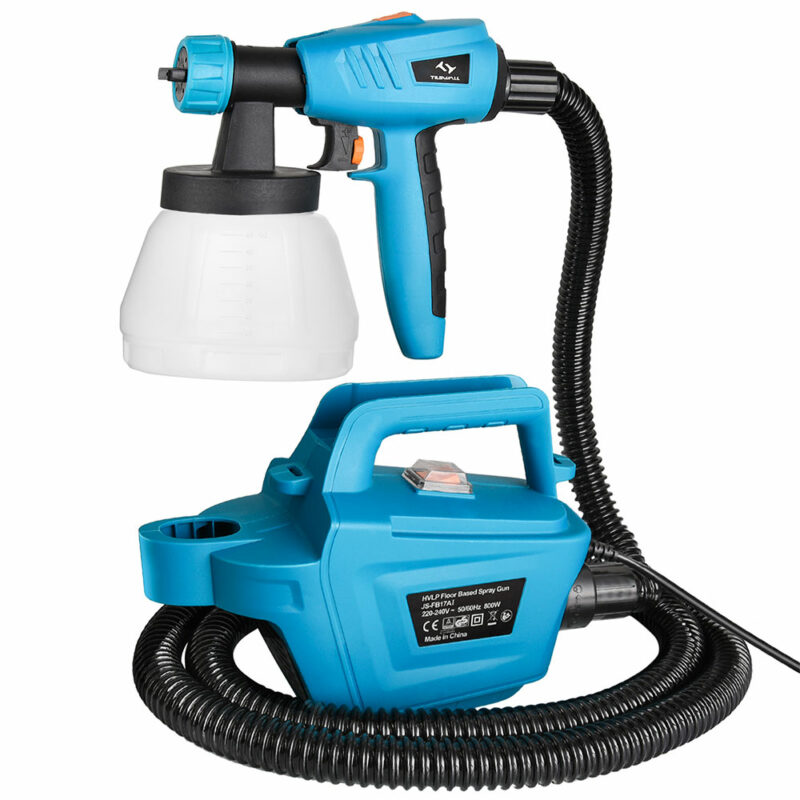
paint sprayer
How to Use an Electric Paint Sprayer(Steps and Notes)
Electric paint sprayers are an essential power tool for home maintenance. Paint on walls, furniture, and cars tends to peel off over time, so we need to refinish them, and the tool you need to use to do this is a paint sprayer. It is easier and faster to paint houses and furniture with a paint sprayer than with a roller or brush. So, How do you use an electric paint sprayer?
The following guide will give you detailed instructions on how to use a paint spray gun correctly.
How the electric paint sprayer works?
The paint sprayer is a compressed air compressor that generates a pressure difference at the mouth of the sprayer that sucks the paint out of the paint reservoir and atomizes it into particles that are sprayed on the surface of the object being painted under the action of a high-speed jet of compressed air.
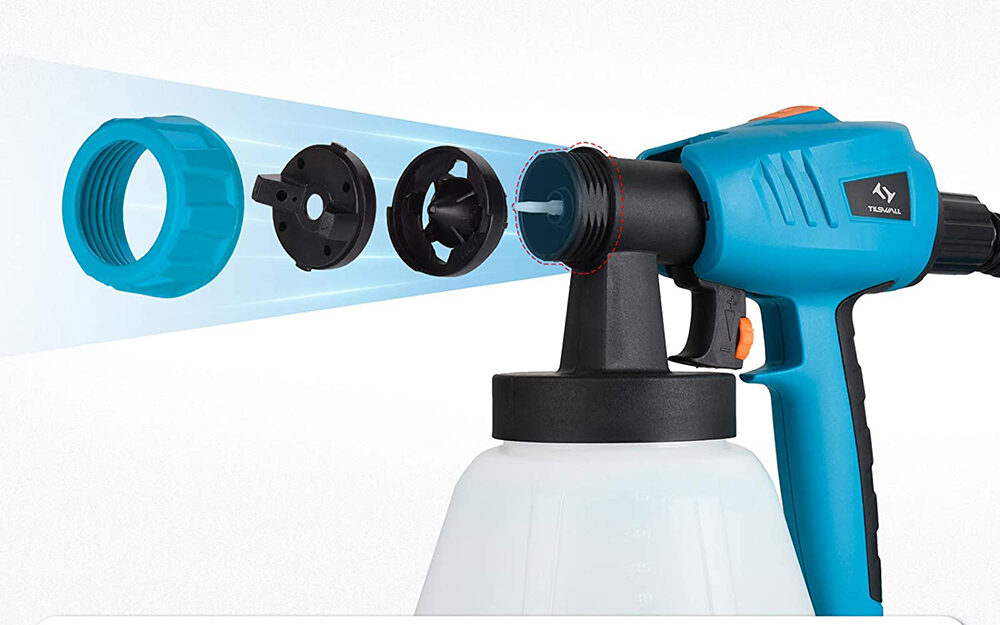
Preparation before spraying:
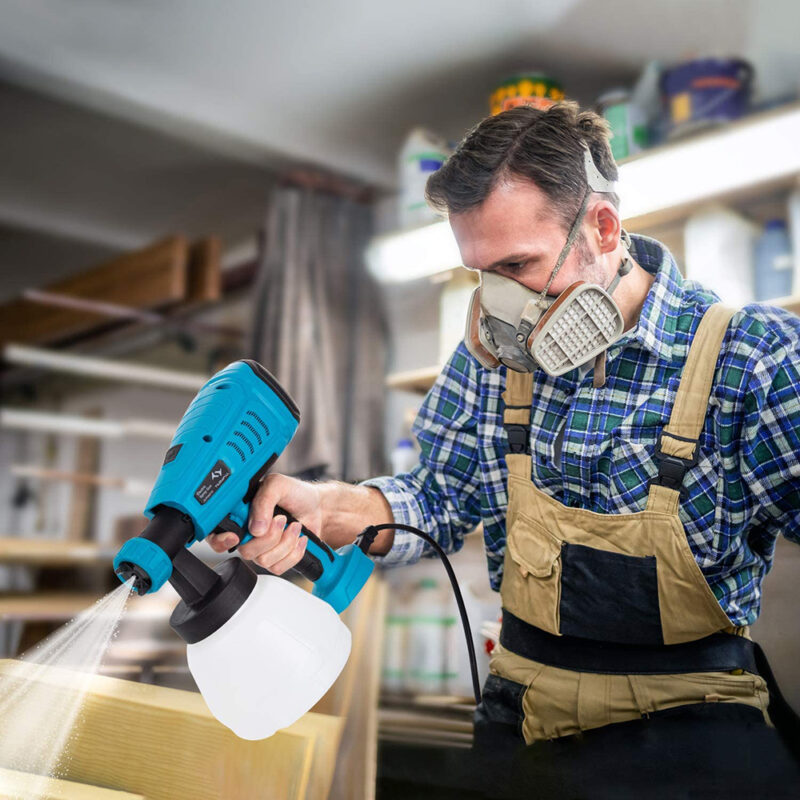
Prepare protective equipment
- Wear protective clothing before you start spraying, preferably one-piece overalls with boots, or if not, shoe covers or shoes you don’t mind being damaged by the paint.
- Wear goggles: Don’t just wear safety glasses, but also goggles that seal your eyes. Because they offer better protection.
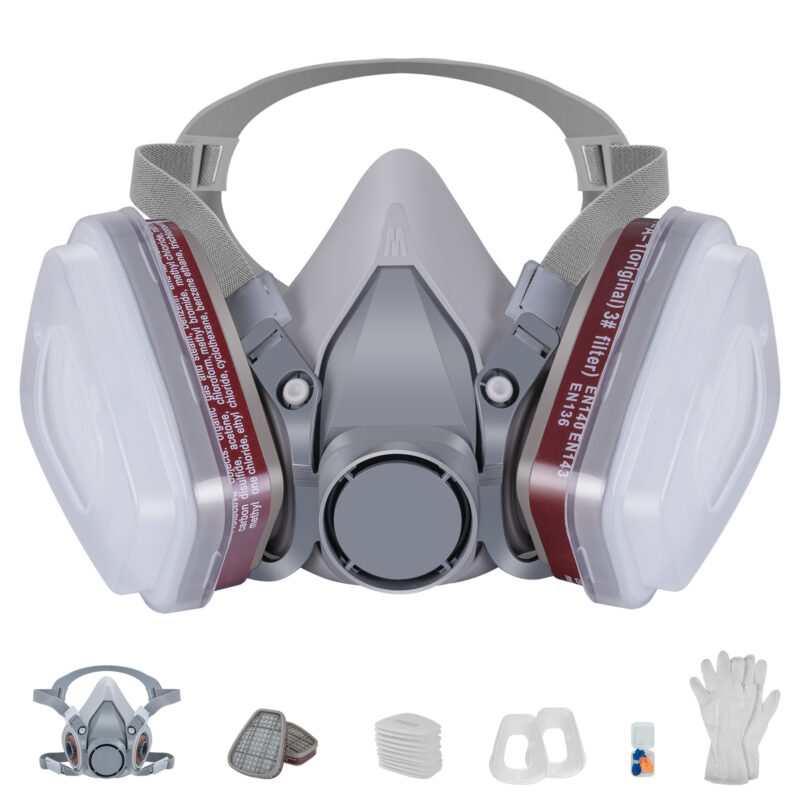
- Wear a respirator: Choose a HEPA respirator rather than just a paper mask.
- Wear gloves: To protect your hands you need to wear a pair of gloves, either latex gloves or gloves that you don’t mind being ruined.
Choosing the right paint or solvent
Before doing so, you should read the manufacturer’s instructions carefully and mix the paint and solvent in the correct proportions.
Preparing the paint sprayer
The paint sprayer and associated equipment should be cleaned and should be in proper working order. Check that the paint sprayer produces the ideal spray shape. The ideal spray should be symmetrical, with uniform atomization and clear edges. Only a small number of paint particles should be present beyond the spray edges The configured air compressor capacity should be in accordance with the equipment operating instructions.
Achieving the right spray pressure
The conditions for achieving the right atomization pressure: the minimum atomization pressure required to achieve the ideal atomization of the liquid. The principle to be followed when adjusting the pressure is therefore that the spray shape is good and that the pressure set is right (the pressure should be as low as possible).
Too high a pressure will not improve the quality of the coating, but will only shorten the life of the equipment and increase the wear and tear on the nozzle, and will cause the paint to bounce back, wasting paint and polluting the space.
Steps for using an electric paint sprayer
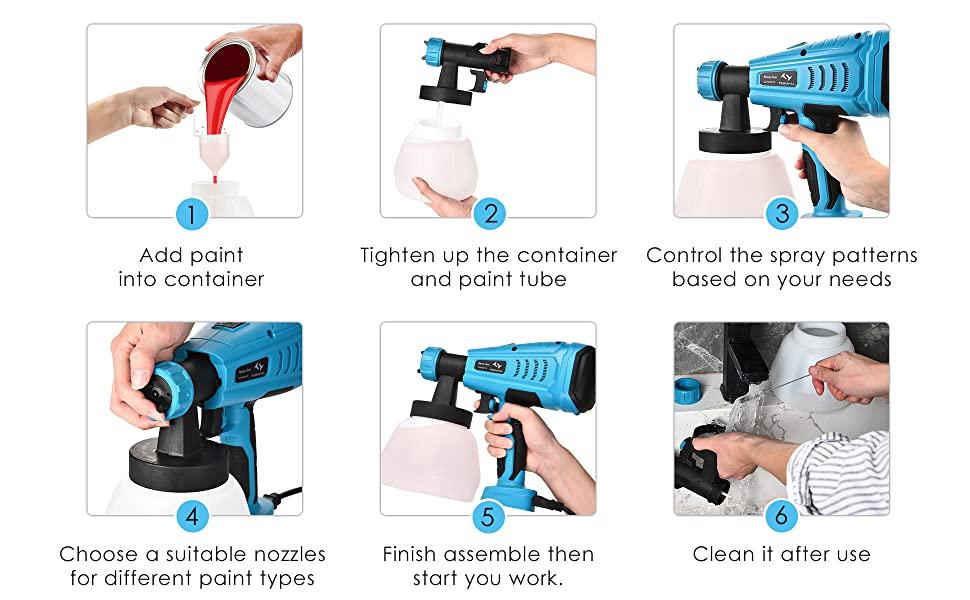
The first step is to pour the paint
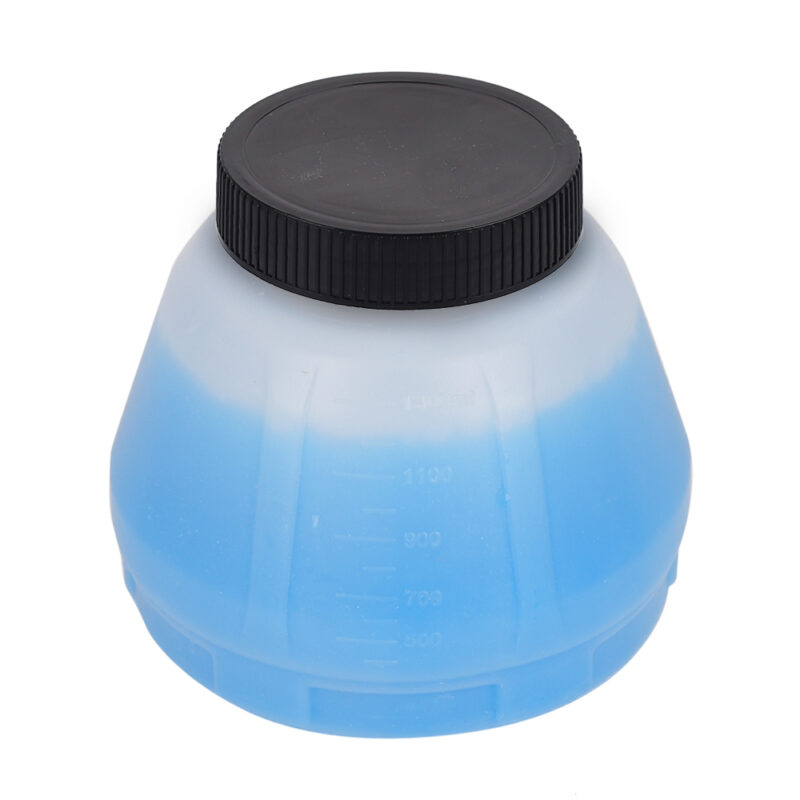
First of all, when we use the paint spray gun we should first mix the paint to be sprayed and shake it well, then pour the paint into the paint cup on the paint spray gun, make sure to pour all the paint into the cup and then encapsulate it to prevent the paint from evaporating later.
Second step paint spray gun spraying
When spraying with a paint spray gun you should keep the gun at a distance of 20 cm from the object to be sprayed. To make the spraying out a little better, we should make sure that the sprayed out paint is wet or not, and the speed of spraying must be moved evenly to ensure an even spraying.
Step three paint spray gun cleaning
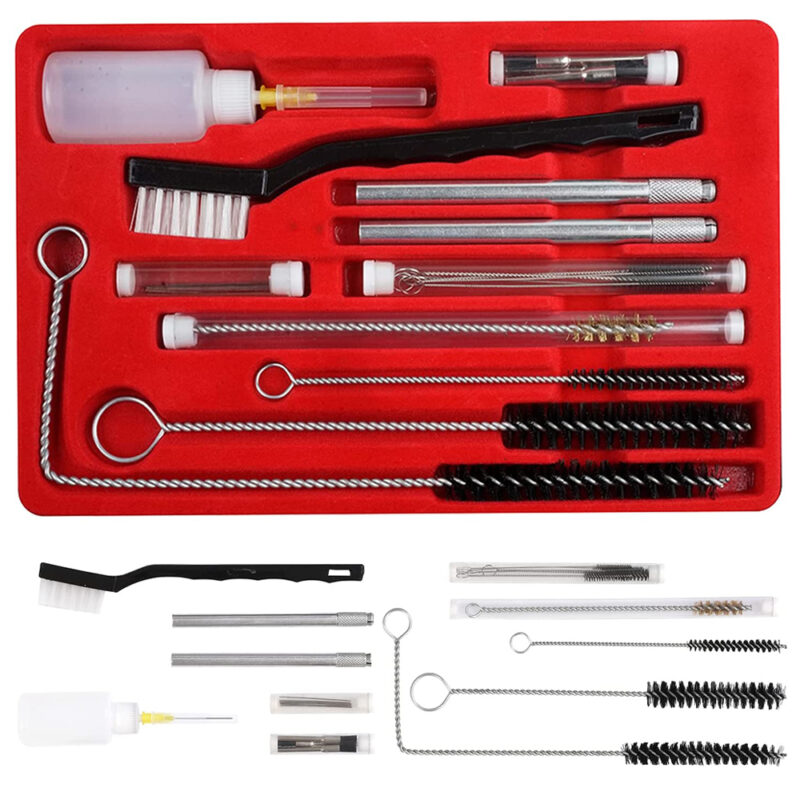
After each spraying is complete, the used paint cup should be cleaned, the entire spray gun must be dismantled and cleaned, press the spray trigger, and clean the entire gun by returning the remaining paint inside the gun.
Here’s how to use the Tilswall paint sprayer
Spraying tips
- The gun should be in motion before the trigger is pulled.
- Keep the distance between the paint sprayer and the workpiece constant, not far and near.
- The paint sprayer should move at an even speed when spraying.
- The starting point of the first spray stroke shall be the same when spraying the same job.
- The surface of the workpiece shall be completely covered with wet paint.
- The amount of overlap between adjacent spraying strokes should be consistent.
- The number of spraying strokes should be consistent for the same workpiece.
Paint sprayer distance
- The distance between the paint sprayer and the workpiece is approximate: ordinary air atomization, 15cm-20cm; airless spray atomization, 30-38cm.
- to obtain a wetter, darker, thicker coating, the sprayer can be closer.
- to obtain drier, lighter, thinner coatings, the paint sprayer can be left farther away.
Paint Sprayer Stroke
- the path of the paint sprayer remains parallel to the surface of the workpiece.
- keep the gun of the paint sprayer perpendicular to the surface of the workpiece, otherwise, there will be a waste of paint.
- to allow the paint sprayer to move in an arc, for moving the operator’s forearms and shoulders, not just with wrist movements.
- When uniformity of coating thickness is required the cross spraying method should be used, making a firm and straight direction first.
- When spraying outside the air, attention should be paid to the direction of the wind and the unsprayed surface should be below the wind to bring flying paint and bounce to the unsprayed surface.
As the workpiece and paint are very different, users can combine these basic principles to determine the appropriate spraying techniques according to their actual situation.
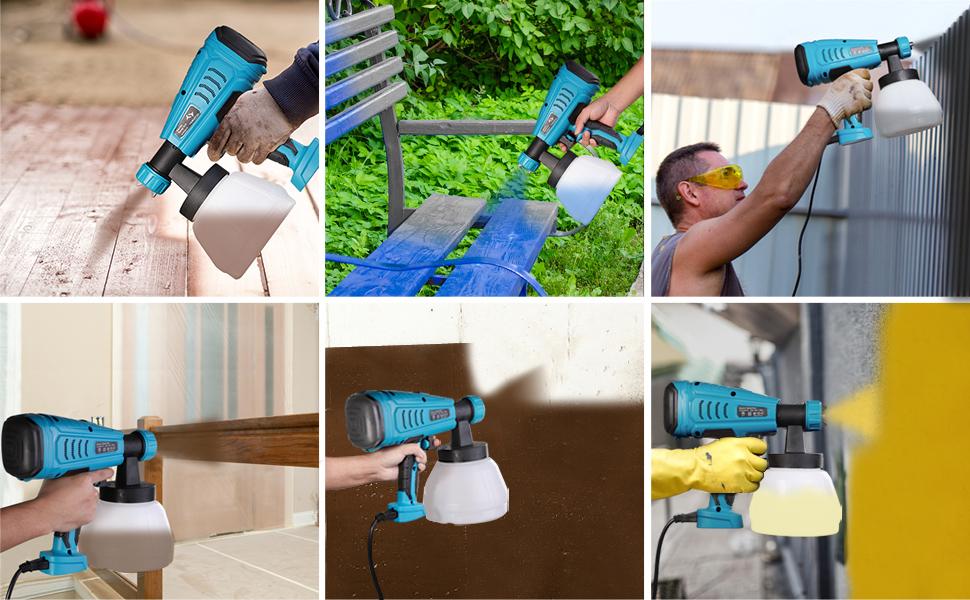
Precautions during the spraying process
- During the spraying process, the sprayer trigger should be locked in time when cleaning, replacing the nozzle, or not spraying. In any case, the mouth of the paint sprayer is not allowed to face your other person to avoid damage.
- Use the lowest possible spraying pressure. Excessive paint pressure will not improve the coating, but will only shorten the life of the equipment and increase the wear and tear of the nozzle, as well as increasing the risk of unsafe conditions.
Precautions at the end of spraying
After spraying, the equipment should be cleaned promptly. The cleaning of pneumatic airless spraying equipment is generally carried out in three steps.
- Discharge of paint: Lift the suction tube from the paint bucket to make the pump run unloaded and discharge the remaining paint from the pump, filter, high-pressure hose, and paint sprayer.
- No-load cycle of the solvents insert the suction tube into the solvents and clean all parts of the equipment with the no-load cycle of the capacitors.
- Discharge of the solvent, put the inhalation tube into the solvent barrel, no-load cycle, discharge the solvent.
Care and maintenance of the paint sprayer
After using the paint sprayer, use the paint thinner to spray clean until the paint channel of the sprayer is washed. Otherwise, the paint inside the gun’s dry solid blockage will affect the normal use of the paint sprayer.
How to clean the electric paint sprayers?
- Shut off the compressed air, remove the paint storage can, pour the paint inside the gun back into the paint storage can, and pour the paint in the can into the container.
- Pour about 1/4 volume of solvent into the paint storage can for flushing, fill the paint storage can turn on the compressed air and rock spray several times repeatedly.
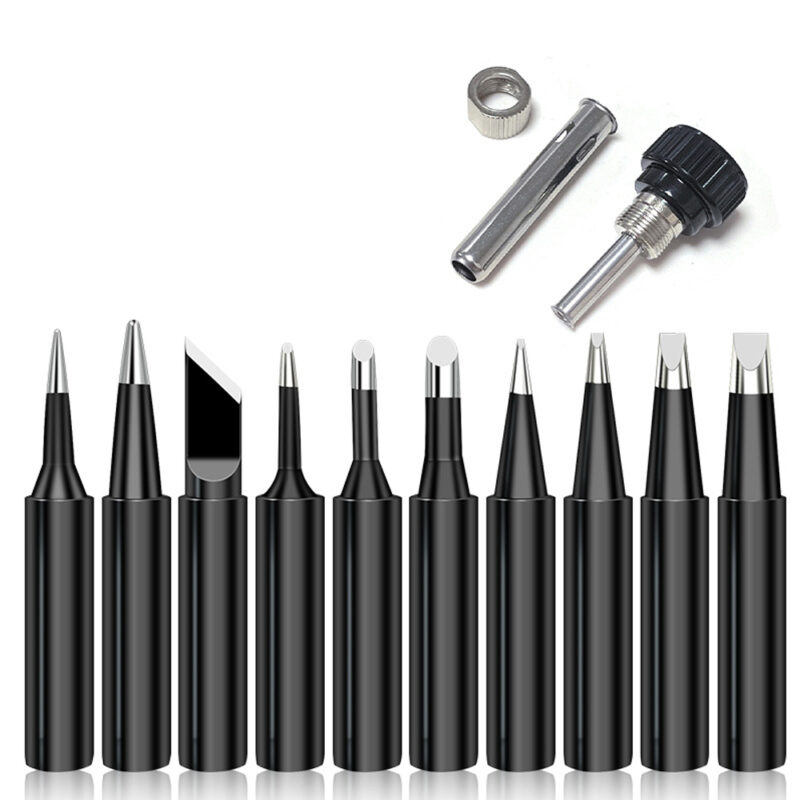
- Disassemble the nozzle, brush it clean with solvent, and put it on.
- Wipe off the paint on the gun.
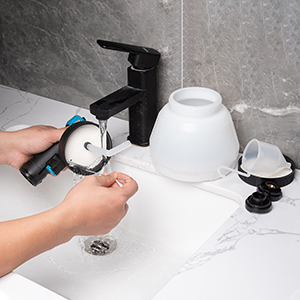
When washing electric paint sprayers should pay attention to the following points:
- Use a soft brush when scrubbing, prohibit the use of metal brushes, do not allow the use of hard objects to stab and scrape to prevent wear nozzles so that the shape of the jet is changed.
- Avoid soaking the paint sprayer directly insolvent to prevent residual paint from attaching to the machine parts as well as dissolving the lubricant on the gun, which can be wiped with a soft cloth moistened with solvent.
- Adjust all knurled parts on the gun by hand, avoiding the use of pincer tools; regularly apply drops of lubricant to the needle valve and gun mechanism pins.
- Regularly lubricate the needle valve and the needle valve spring with light grease or petroleum jelly; do not use oils containing silicone.
Conclusion
The electric paint sprayer looks easy to operate, but it is actually a bit difficult, but with the right technique, you can still get the job done.

